Adding Contacts to Jobs
Assign contacts to a staging job, set their role (e.g. Primary Agent, Homeowner), and remove or change roles.
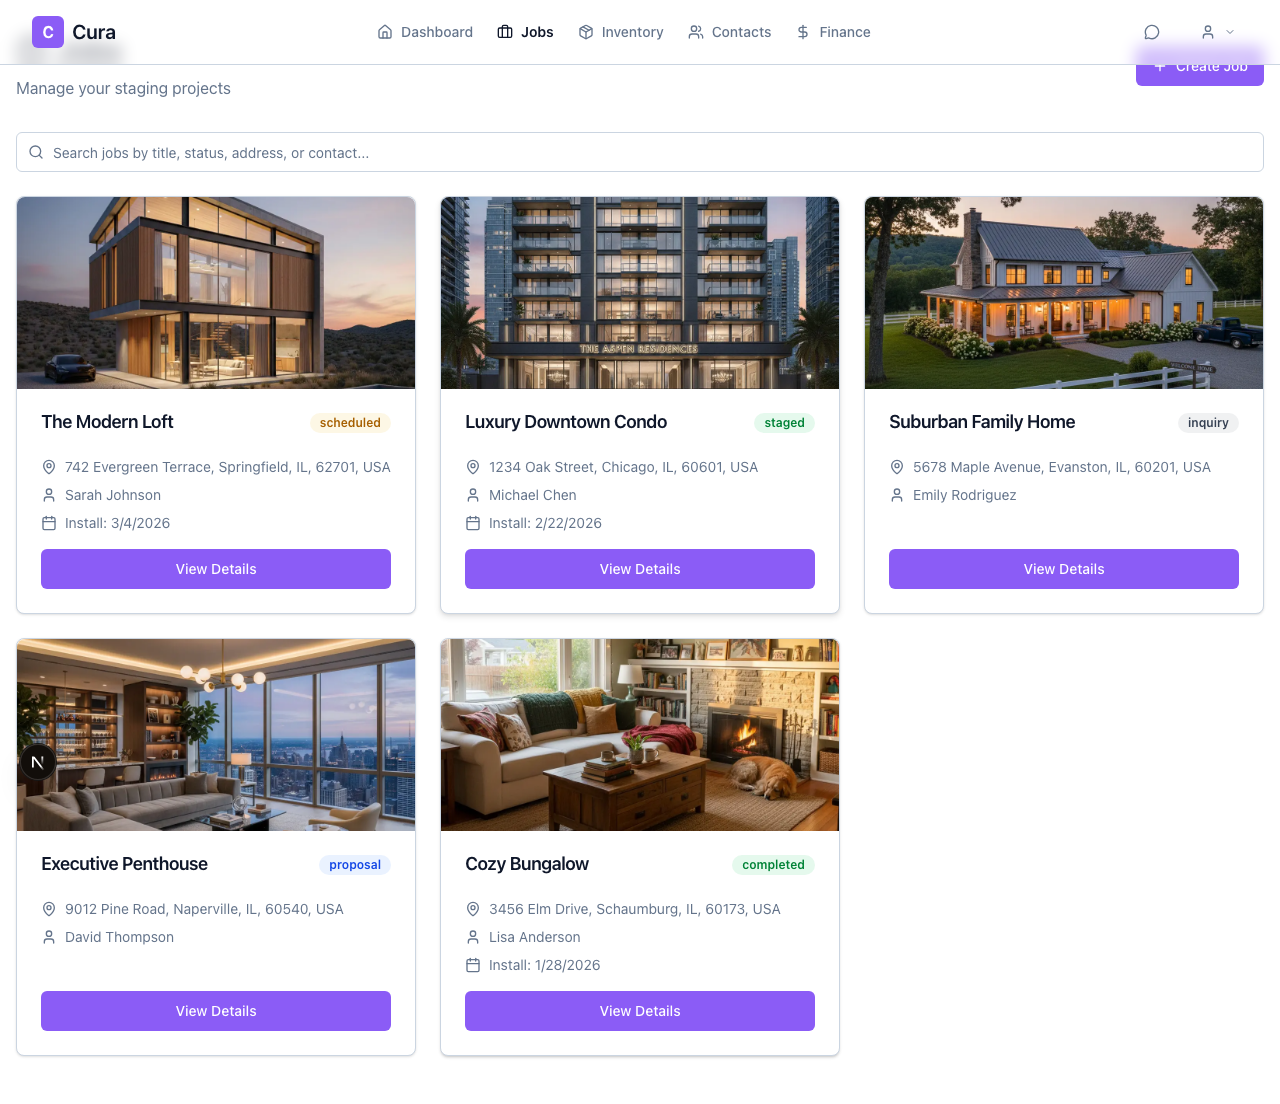
Where Job Contacts Live
Each job has a Contacts section. To manage it:
- Open Jobs from the sidebar.
- Click a job to open its detail page.
- Find the Contacts card on the job page.
You can assign multiple contacts to a job and give each a role (e.g. Primary Agent, Homeowner, Access Contact). Those contacts are then available for documents (proposals, contracts) and for communication.
Adding a Contact to a Job
- Open the job (click it from the Jobs list).
- In the Contacts card, click Add.
- Search for the contact by name or email, or scroll the list.
- Select one or more contacts (checkboxes).
- Choose the default role for new additions (e.g. Primary Agent). You can change each contact’s role after adding.
- Click the button to add the selected contact(s) (e.g. Add or Add selected).
The contact appears in the job’s Contacts list with the role you set.
Adding a New Contact While on the Job
If the person isn’t in your contacts yet:
- In the job’s Contacts section, use the search/selector that says Search or add contacts... (or similar).
- Choose Add new contact (or the equivalent option).
- Fill in name, type, and any optional details, then save.
- The new contact is created and added to the current job in one step. Set their role as needed.
Contact Roles on a Job
Each contact on a job has a role that describes their relationship to that job:
| Role | Typical use | |-----------------|-------------| | Primary Agent | Main listing or real estate agent | | Homeowner | Property owner | | Access Contact | Person who provides access (lockbox, keys, etc.) | | Vendor | Contractor, mover, or other vendor | | Other | Any other role |
You can assign the same contact to different jobs with different roles (e.g. Agent on one job, Vendor on another).
Changing a Contact’s Role
On the job page, in the Contacts card, each contact has a role dropdown. Open it and pick a new role (Primary Agent, Homeowner, Access Contact, Vendor, Other). The change is saved automatically.
Removing a Contact from a Job
In the Contacts card, use the Remove (or trash) action next to the contact. Confirm in the dialog. The contact is only removed from this job; they remain in your Contacts list and on any other jobs they’re assigned to.
Summary
- Add — Use Add in the Contacts card, search/select contacts, set default role, then add. Or use Add new contact to create and add in one step.
- Change role — Use the role dropdown next to each contact on the job.
- Remove — Use the remove/trash action next to the contact and confirm.
Related
- Creating Contacts — Add agents, homeowners, and vendors to your contacts.
- Editing Contacts — Update a contact’s details.