Creating a Proposal Template
Step-by-step guide to create a new proposal template in Cura, including naming, default selection, and editing content.
2 min read·Updated 2026-02-10
Before You Start
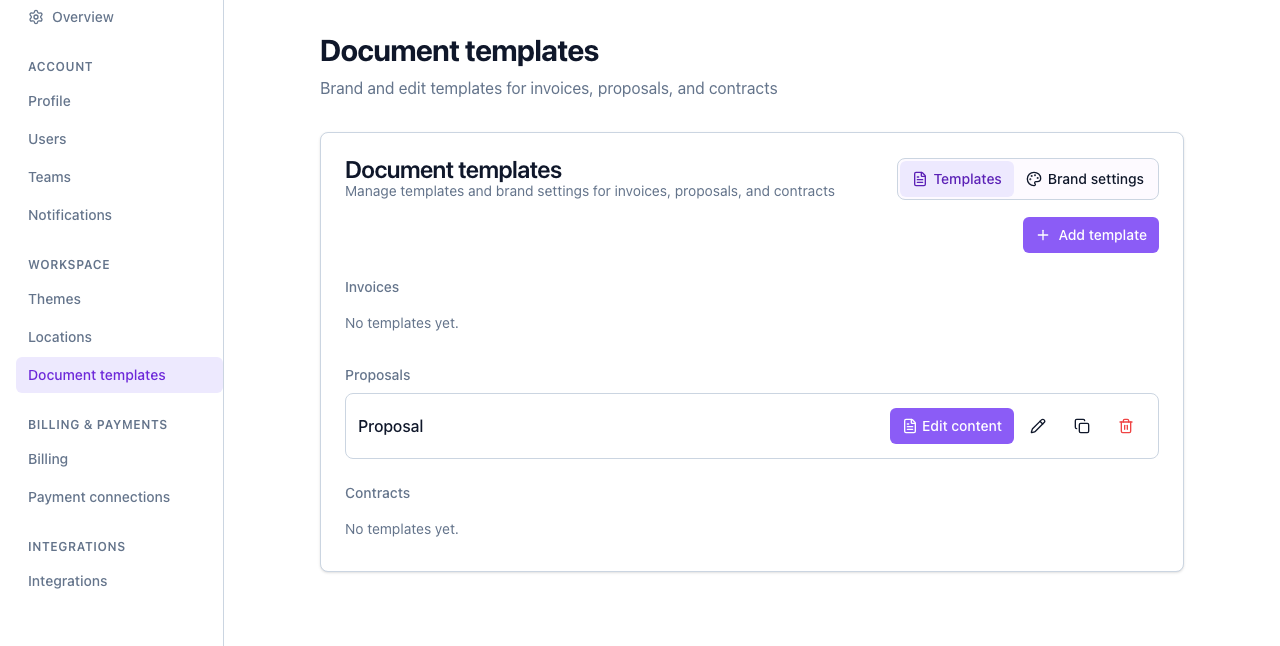
- Go to Settings → Document templates.
- Ensure the Templates tab is selected (not Brand settings).
- Optionally set up Brand settings first so your logo, colors, and company info appear on new templates.
Step 1: Add a New Template
- Click Add template.
- In the dialog, fill in:
- Name — e.g. “Standard staging proposal” or “Premium proposal.” This is for your reference in the template list.
- Description — Optional. Shown under the template name to distinguish it from others.
- Document type — Choose Proposal.
- Set as default — Check this if this should be the proposal template used when you generate a proposal from a job without picking a specific template.
- Click Create (or the primary submit button in the dialog).
The new proposal template appears under Proposals in the list.
Step 2: Edit the Template Content
After creating the template, you design what the proposal will contain:
-
In the template list, find your new proposal and click Edit content.
-
You’re taken to the template editor. Use the rich editor to add:
- Headings and paragraphs
- Bullet or numbered lists
- Tables (e.g. for scope or pricing)
- Placeholders that Cura will replace with job/contact data when you generate a document (e.g. client name, address, dates).
-
Use the Page settings if you need to change size (e.g. Letter), orientation (portrait/landscape), or margins.
-
Save your changes when done.
Your brand settings (logo, colors, font, footer, company contact) are applied automatically when the document is generated; you don’t need to redraw them in the template body.
Step 3: Use the Template on a Job
When you’re ready to send a proposal to a client:
- Open the Job in Cura.
- Use the option to Generate or Create a document (e.g. proposal).
- Select this proposal template if it’s not already the default.
- Generate the PDF (and optionally DOCX). Cura fills in placeholders with the job and contact data.
Tips
- Default proposal — If you have only one proposal template, set it as default so it’s pre-selected when generating proposals.
- Multiple proposals — Create separate templates for different offerings (e.g. “Basic staging proposal” and “Full-service proposal”) and choose the right one per job.
- Brand first — For a consistent look, complete Brand settings (logo, colors, fonts, company info) before writing multiple templates.
Next Steps
- Editing and Managing Proposal Templates — Change content, duplicate, or delete a proposal template.
- Overview of Document Templates — How templates and brand settings work together.